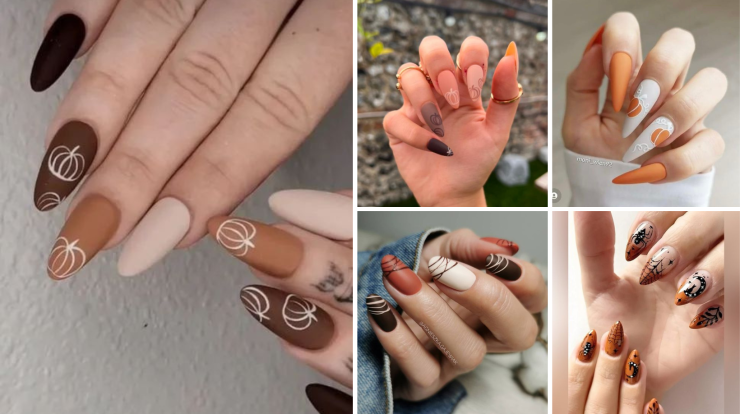
Halloween is just around the corner, and what better way to get into the spooky spirit than with a stylish, themed manicure? Spider web nails are a hauntingly chic way to embrace the season without going over the top. They’re perfect for Halloween parties, trick-or-treating, or even just to showcase your love for this spooky holiday. Let’s dive into how you can achieve spider web nails and some creative design ideas to make your Halloween manicure stand out.
Why Spider Web Nails?
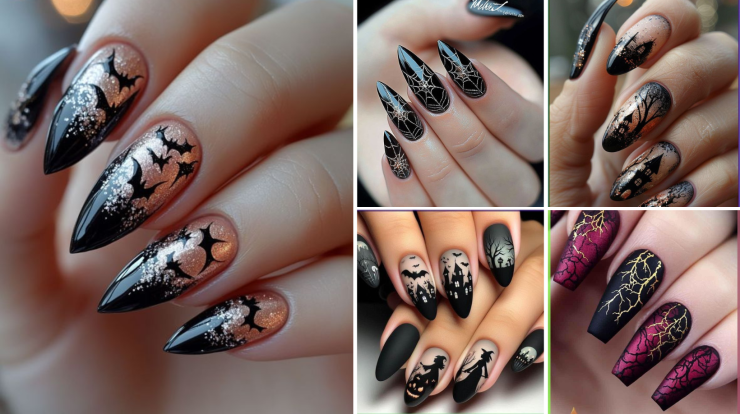
Spider webs are an iconic Halloween symbol, evoking mystery, eeriness, and a bit of fun fright. Incorporating them into your nail art creates a festive vibe without being too flashy or complex. Plus, with a little practice, spider web designs can be quite simple to recreate at home!
What You’ll Need
Before starting your spider web nail design, gather the following materials:
- Base coat – To protect your nails and ensure long-lasting wear.
- Black nail polish – For the ultimate Halloween vibe, though you can use other dark shades like deep purple, navy, or even orange.
- White nail polish or nail art pen – To create the spider web design. A fine-tip brush or pen will give you more control.
- Top coat – For a glossy finish and to seal your design.
- Dotting tool or fine brush – To help draw thin, precise lines for the webs.
- Optional: Glitter polish, rhinestones, or mini spider decals – For an added touch of glamour or spooky embellishment.
Step-by-Step Tutorial for Spider Web Nails
- Prep Your Nails
Start by shaping your nails into your desired shape—square, almond, stiletto, or oval. Clean your nails thoroughly, removing any old polish and pushing back your cuticles for a clean canvas. Apply a base coat to protect your natural nails from staining and to ensure that your manicure lasts longer. - Apply the Base Color
Once the base coat is dry, apply two coats of your chosen base color. Black is a classic choice for a Halloween-themed manicure, but dark shades like plum or emerald green can also give a spooky yet elegant look. - Create the Spider Web
After the base color dries, it’s time to draw the spider web. Using a white nail polish with a thin brush or a nail art pen:- Start by drawing three or four diagonal lines from one corner of your nail outward, almost like creating the “rays” of a fan.
- Then, connect these lines with small curved arcs, starting from the outer edges and working inward. These arcs will form the strands of your spider web. Repeat this on each nail or just one accent nail, depending on your style preference.
- Optional: Add Some Sparkle
If you want to elevate your spider web nails, consider adding a touch of glitter polish on top of your web design, or place a small rhinestone at the center of the web to resemble a tiny spider. For an even more Halloween-appropriate look, you could apply spider decals or draw tiny spiders crawling across your nails. - Finish with a Top Coat
After your design is complete and dry, seal everything with a top coat to add shine and durability. A high-gloss top coat will make your nails pop, while a matte top coat can give your spider web nails a more eerie, mysterious finish.
Design Variations
To make your spider web nails even more unique, here are some additional ideas you can try:
- Glow-in-the-dark webs: Use glow-in-the-dark nail polish for the webbing to give your nails an extra spooky touch when the lights go out.
- Spider embellishments: Add a tiny 3D spider to one of your nails, using a rhinestone for the body and drawing tiny legs with a thin brush.
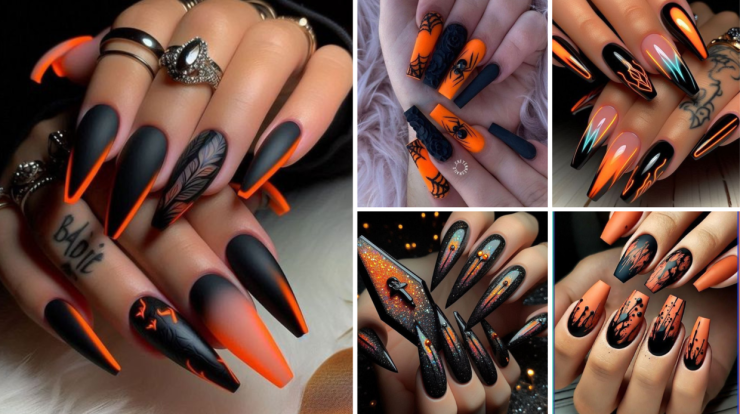
- Colorful webs: Instead of sticking to the classic black-and-white combo, try neon-colored webs on a black base for a bold, modern Halloween twist.
- Ombre base: Create a gradient base with black and dark purple, and add the spider webs on top for a mysterious effect.
Pro Tips for Perfect Spider Web Nails
- Steady your hand: For fine details like spider webs, keep your hand steady by resting it on a flat surface. Take your time with each line to ensure precision.
- Practice makes perfect: Don’t worry if your first spider web isn’t perfect—practice on paper or a nail wheel before trying it on your nails.
- Nail strips or stencils: If freehand drawing feels too intimidating, you can use nail art strips or stencils to create more precise webs.
Conclusion
Spider web nails are a fun and festive way to get into the Halloween spirit. Whether you’re going for a subtle nod to the holiday or a full-on spooky look, spider web nail designs offer endless possibilities to customize your manicure. All it takes is a bit of practice, creativity, and the right tools to create a bewitching Halloween look that will have you and others enchanted! So grab your polish, get creative, and weave some magic with your nails this spooky season!


